In construction, both bricks and brick chips play a vital role in ensuring the strength and durability of structures. While bricks are used for masonry works like walls and partitions, brick chips are used as coarse aggregates in concrete for smaller structures, pathways, or road works in some regions.
Checking the quality of both bricks and brick chips on-site is essential before starting any work. Poor quality materials can lead to weak structures, increased maintenance costs, and safety risks.
In this post, we will guide you through practical, easy-to-follow methods for checking the quality of bricks and brick chips during construction site visits. We’ve also included a simple comparison table and a downloadable checklist to make your inspections easier.

Contents
A. Brick Quality Check on Site
1. Visual Inspection
- Shape & Size: Bricks should have uniform size and shape with sharp, well-formed edges.
- Color: Good bricks usually have a uniform deep red or copper color.
- Surface: The surface should be smooth and free from cracks or holes.
- Efflorescence (Salt Patches): Presence of white patches indicates poor quality.
2. Soundness Test
- How to test: Strike two bricks together.
- Good result: Clear, ringing sound indicates good quality
3. Drop Test
- How to test: Drop from 1 to 1.2 meters height on hard ground.
- Good result: Should not break easily or break into large pieces only.
4. Hardness Test
- How to test: Scratch the brick with a hard object.
- Good result: Should be hard to scratch.
5. Water Absorption Test
- How to test: Soak the brick in water for 24 hours and check weight increase.
- Good result: Water absorption should not exceed 20% by weight.
6. Efflorescence Test Test
- How to test: Soak and dry the brick, check for white salt deposits.
- Good result: Nil or very slight white patches.
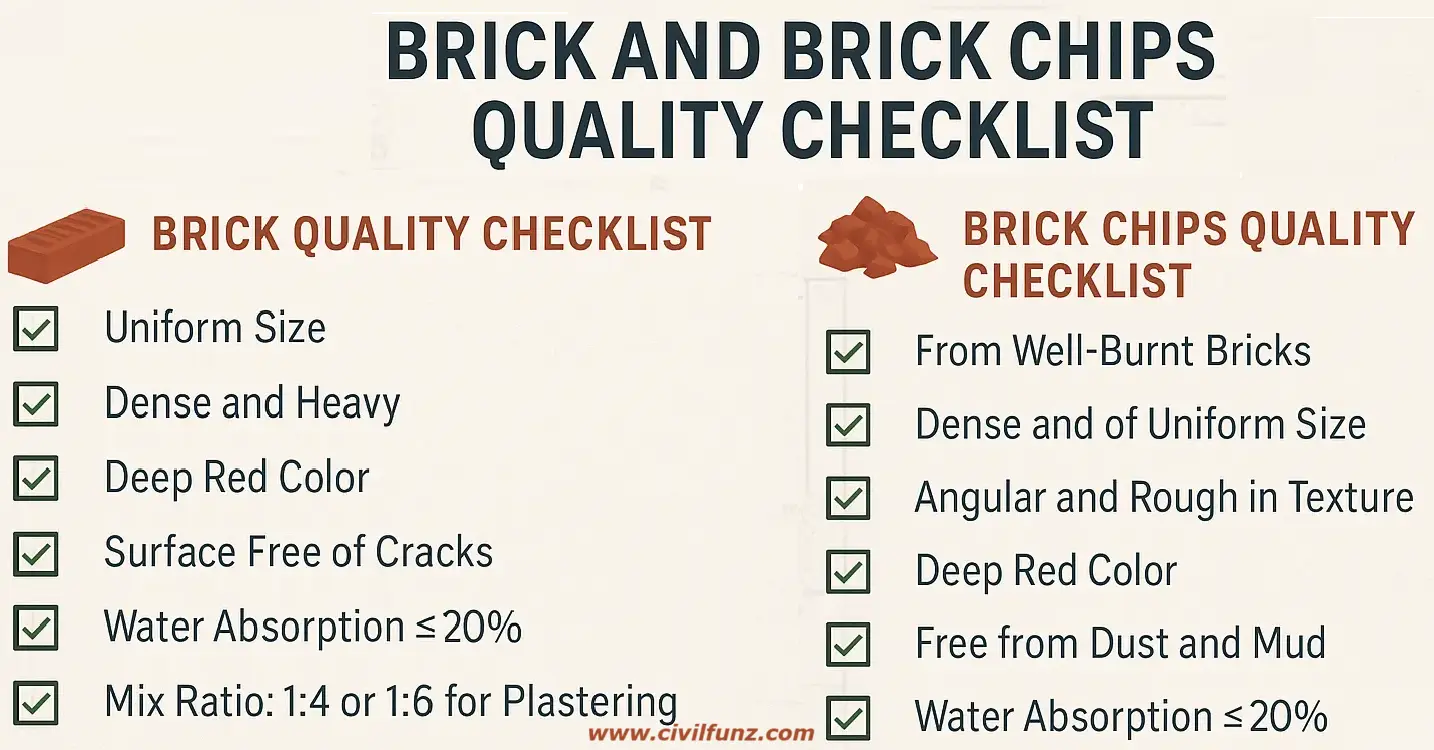
To make your site inspections easier, we have created a ready-to-use checklist covering all essential quality checks for both bricks and brick chips. You can download the checklist in PDF format and use it directly at your construction site.

B. Brick Chips Quality Check on Site
1. Visual Inspection
- Color: Should be from well-burnt red bricks. Avoid blackish (over-burnt) or yellowish (under-burnt) chips.
- Shape: Prefer angular and rough-textured chips.
- Size: Should be uniform (commonly ¾ inch or ½ inch) depending on use.
- Cleanliness: Should be free from dust, clay, or organic matter
2. Soundness Test
- How to test: Strike two chips together.
- Good result: Should give a clear, ringing sound.
3. Water Absorption Test
- How to test: Weigh dry → soak for 24 hours → weigh again.
- Good result: Water absorption ≤ 20% by weight.
4. Hardness Test
- How to test: Hit a chip with a hammer.
- Good result: Should not turn to powder; may break into large pieces only.
5. Impurities Check
- How to test: Rub in palms.
- Good result: Hands should not turn red or dusty. If dusty, chips should be washed before use.
Whether you’re using bricks for masonry or brick chips for concrete, checking material quality on-site is essential to ensure a strong and durable structure. Good bricks provide strong, crack-free masonry, while good brick chips make concrete stronger and help reduce shrinkage and cracking. By using the methods discussed above, site engineers, supervisors, or contractors can easily check the quality of both before accepting delivery or using them in construction.
Remember: Stronger materials mean safer structures!!!
💡 Looking for more?
We regularly share posts on construction quality checks, techniques, and site best practices—don’t miss out!